
The Sew Over It Blossom pattern was gifted to me recently by Camilla and I knew that I wanted to include it in my #2018MakeNine plans.
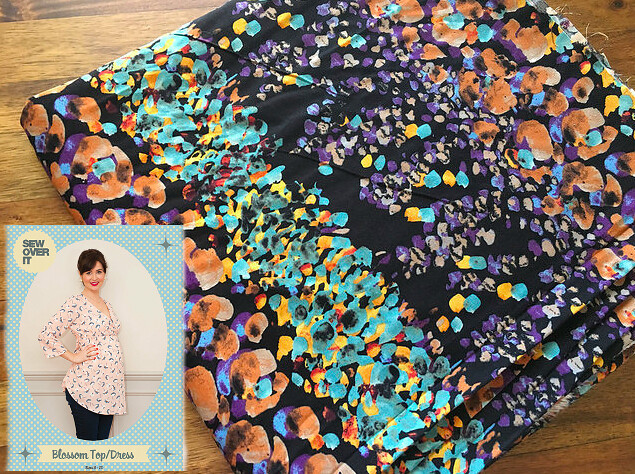
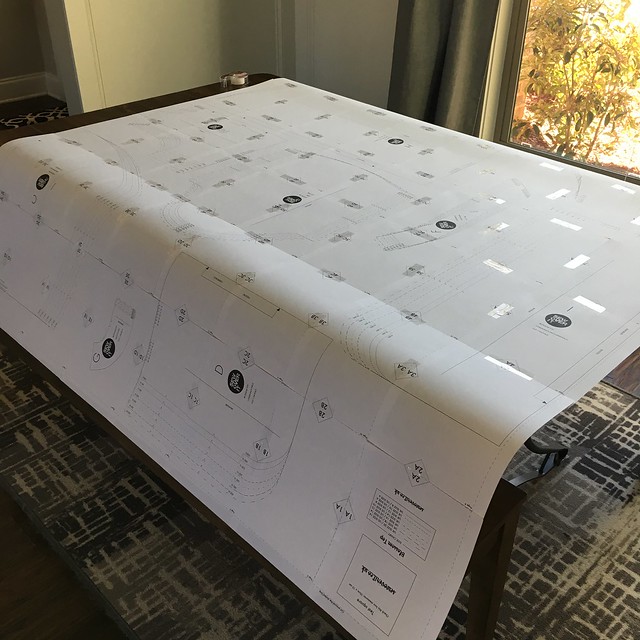
The first step in production was to get the pattern and instructions printed off as this is a PDF pattern. I always prefer to have a paper copy of instructions to flick through as I’m sewing. When printing the actual pattern though, I came across my first problem. I had downloaded the file for US size letter paper. Paper in the US isn’t A4 like in the UK…crazy! Anyway, I could not get the test square to print the size it needed to be. It was either at least 0.5 cm over or 1cm under, and I tried at least 8 different printing options. I ended up just going for the setting that was the closest measurement but it was a little bigger than it needed to be.
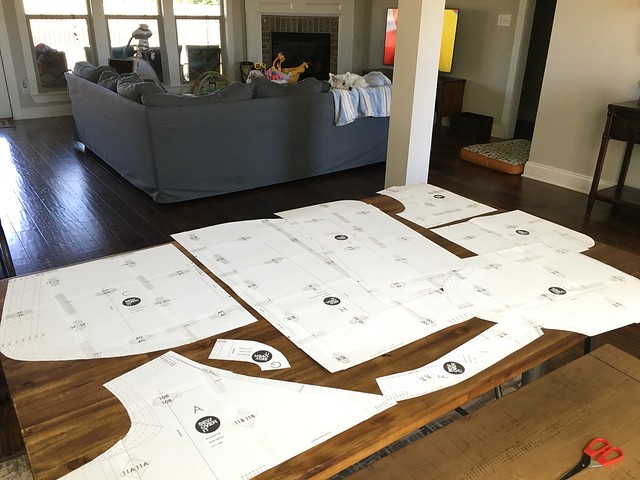
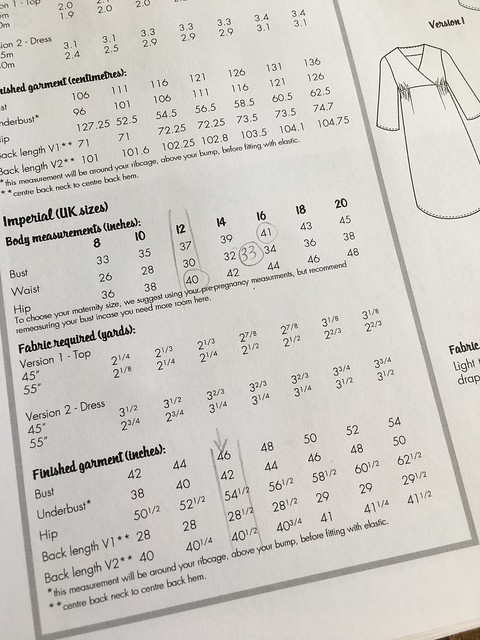
Once printed (all 48 pages of it), I taped it together and took a look at sizing. This is where it got a little interesting. Rosie is currently 5 months old and I am still exclusively breastfeeding her. My cup size used to be a D and has now gone up to almost an E cup *insert shocked face*. As you can see in the picture below, my current sizes fall between 3 of the pattern sizes. This is where I decided to look at the finished garment measurements and look at how much ease it would give me. I cut the size 12 as I thought that this would give me enough ease for all of my measurements!
Construction was relatively straightforward but I did have to overcome a few obstacles. I love how the sleeves are designed as they didn’t have too much excess fabric for me to gather into the seam. Even though the neckline of the wrap over bust sits quite high, I like this feature as it means that I’m not going to have any wardrobe malfunctions.
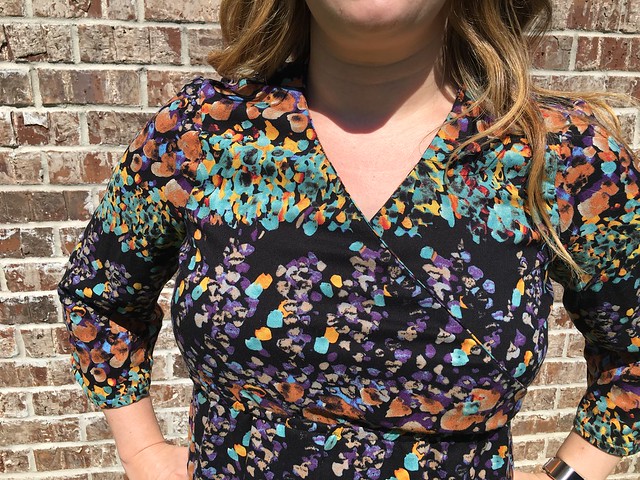
So, unfortunately there are quite a few parts of the dress that I just didn’t like; maybe it’s to do with the sizing or even the fabric I chose to use. The instructions say to put stay tape around the neckline to avoid over-stretching the material when it is pulled down to feed. However, this meant that I just couldn’t pull it down to get a boob out at all! The neckline doesn’t budge with the stay tape so it defeats the object of being able to feed really. I do understand that at the moment my cup size is on the larger size so maybe adjustments need to be made elsewhere to enable the neckline to work for me. I think the main adjustment will have to be extending the upper pieces on the bottom for a couple of inches. I feel that this would also make the elastic channel sit properly under my bust.
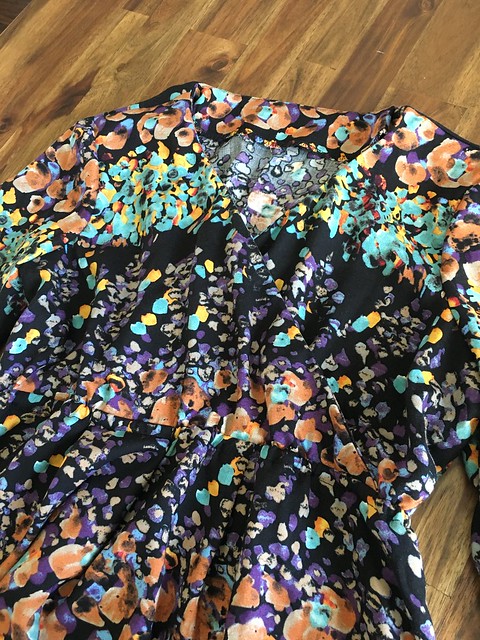
I’m not sure if it’s too clear in the finished garment but I also had a little trouble matching the seams and notches of the upper and lower bodice pieces. If I started with matching the notches, then the side seams would not match… if I started by matching the side seams then there would be excess fabric in the front and back. I decided to match the side seams and create additional pleats on the front and back in the hope that they wouldn’t be too obvious once the elastic channel was in.
The elastic channel was pretty simple as I’ve done a few of these before on other garments. This step in the instructions were slightly confusing though as it asks you to start inserting the elastic beneath a pleat. I wasn’t really sure why you would do it this way as it would have the additional stitching where you close the channel on the front of the dress. I decided to insert it on the side seam so you cant see where it has been inserted.
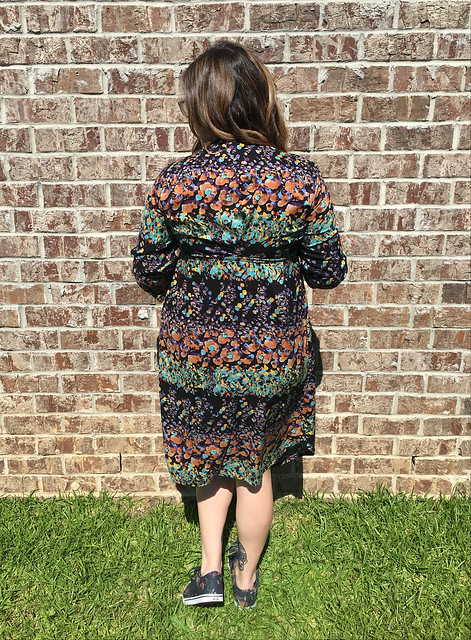
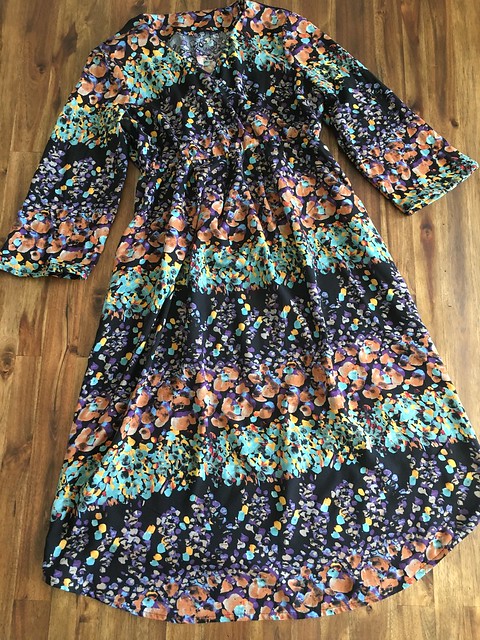
The hemline of the dress is quite suited for a pregnant tummy, which is great if you’re using this as a maternity dress. It is significantly longer at the front than at the back, which isn’t that great if you are wearing it after birth. I had to fold an additional inch up on the hem at the front. It would have been great if the pattern had a different cut line for the nursing dress.

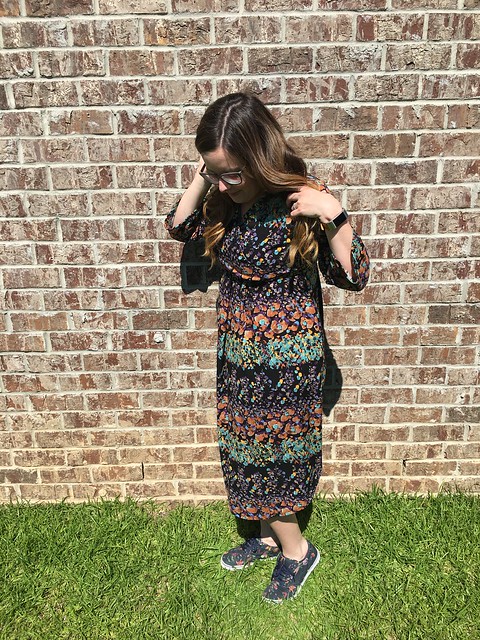
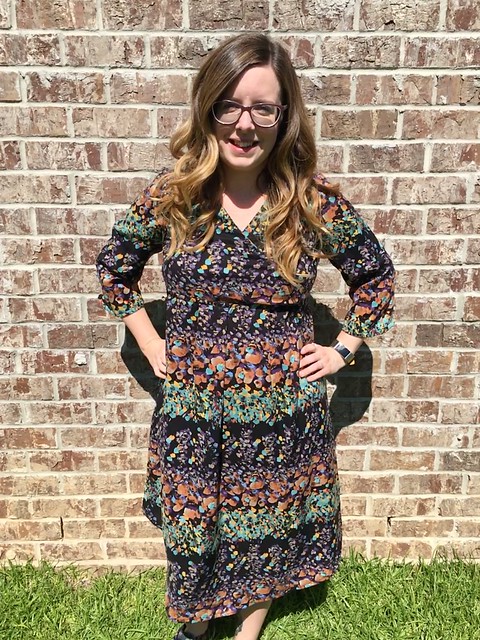
I really wanted to love this pattern but the construction and function just didn’t make it happen. I do like the finished dress as a garment for regular wear but for me, it just isn’t suitable for nursing. If I make this again, I would make quite a few changes. I would lengthen the bodice so that the elastic fit under my bust. I would also omit the stay tape, possibly using a fabric that has a good amount of stretch but also one that had a good recovery from the stretch.
It would be great to hear if anyone else has sewn this top or dress…especially if you’ve got a bigger bust! How did you find it? Do you have any suggestions for me for if I am to make it again?


It looks lovely, the fabric you’ve picked is so pretty! I wonder if it’d be better to put un-stretched elastic in the neckline instead of twill tape ? Then it would ping back into shape, but would hopefully have enough movement for breastfeeding?
Thank you! Ahah! What I great idea! I didn’t even think about elastic but I’m sure that would be sooooo much better!
Really interesting post! I’ve been wondering whether to try this pattern so really great to read your detailed post and hear about your experience.
Thank you for reading! I do think it’s worth a shot at making, theres just a few things to think about with it. I’d like to make it again as a top, using different fabric and a couple of different techniques.
What a great dress, it looks lovely on you.
You probably already know this, but most patterns are drafted for a b cup, so you have to do an adjust the bust adaptation as you need an extra 4-6 inches in the bust area – it may be why the length is wrong in the bodice. There is a fantastic Craftsy class that I can recommend – (they have some brilliant classes). I know for me, adjusting the bust transformed many of my sewing projects as I have always been above a “b” cup.
Thank you!
Yes I contemplated doing a FBA but then thought that the ease would be ok due to it being a wrap style bust. I’ll definitely be attempting it again with the adjustment!
I always think that FBA’s are something that I try to get away with not doing…and I’ve gotten away with it with most things but I don’t think I’ll get away without doing one while nursing!
The dress is gorgeous! I would not have the patience to print, tape, and cut a PDF pattern. I try avoiding them for this very reason! I commend you for your dedication and patience! Well done!
Thank you! Yes, I do find that it’s sometimes annoying to put a PDF pattern together…especially when you have to trim the edges first! I’ve sent a couple to my local print shop before and that seems to be a little easier.