

Back in Sheffield, we used to go to a number of little sushi restaurants. I loved the little plates whizzing around the conveyor belt waiting to be snapped up. Adam has never really liked any fish so he was never a fan of any of the rolls. He usually ordered chicken katsu and chicken gyoza. I can’t blame him really; they are both really yummy!
In my pursuit to cook more homemade food, I scoured the internet for a recipe to make chicken gyoza, or as they are also known, potstickers. I came across a couple of filling recipes but none that really stood out to me so I decided to mix ingredients from a few to create my own chicken filling. I then used this really helpful post from userealbutter.com to make the dough and for cooking guidance. If you are planning on having a go at making these yourself, check this post out as there are lots of helpful tips.
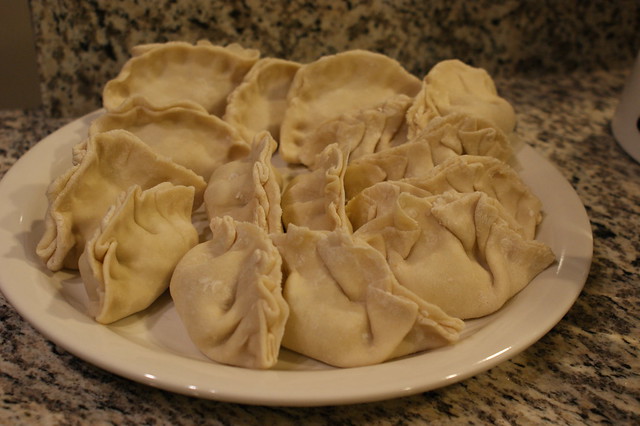
My recipe made 15 gyoza, enough for us 2 for 2 nights 🙂
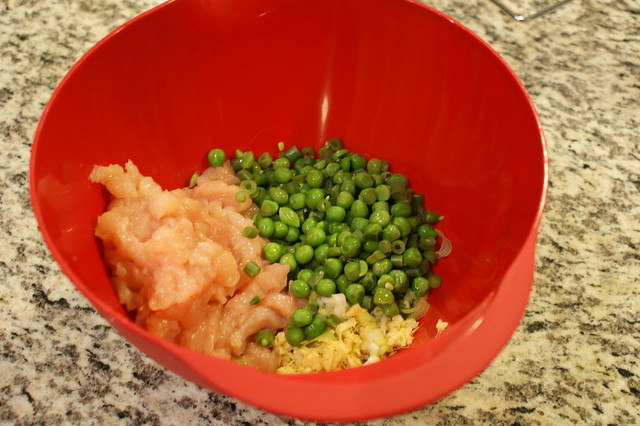
Chicken Filling
- 1 large chicken breast, finely shopped/shredded
- 1 inch of finely chopped ginger
- 3 spring onions, finely chopped
- 1/2 cup of peas
- 1/2 cup chopped green beans
- 1 tbsp soy sauce
- 1 tbsp sesame seed oil
- Mix all the ingredients together and refrigerate.
That part was the easy bit!
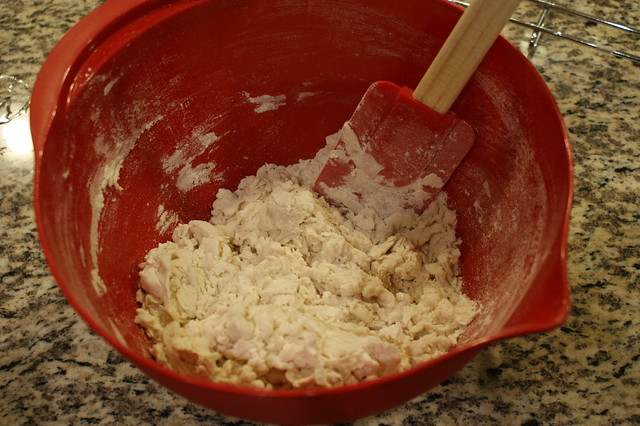
Dough
- 2 cups all-purpose flour
- 1/2 cup warm water (boiled, then allowed to cool)
- extra flour for dusting
- Place all of the flour in a bowl.
- Add the water gradually, mixing slowly. Here I mixed with more of a chopping motion with my spatula so the flour was in quite a few smaller pieces.
- Once all the water has been added, use your hands to form the mixture into a smooth, soft dough ball. You may need to add more water if your mixture is too dry or more flour if it is too sticky!
- Let the dough ball rest for 30 minutes in the bowl, covered with a tea towel.
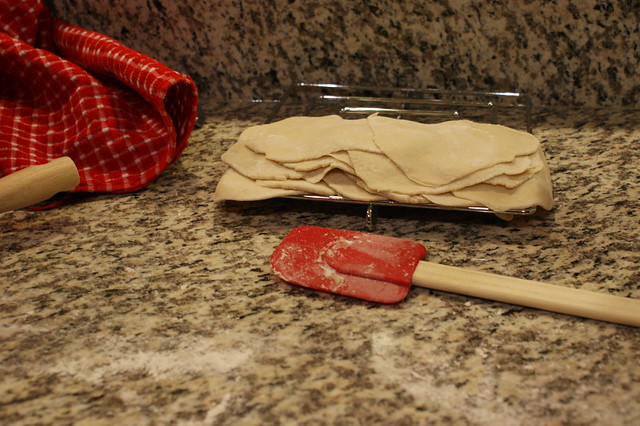
Now the dough has had a rest, you will need to make your dough disks. For mine, I split the dough in half and made 2 rough sausage shapes. I then cut the sausages into chunks, approximately 1 inch wide. These were then rolled out into thin circular shapes.
I have also seen people using cookie cutters to help with the shaping of the circles. I think my disks were a little thicker than normal gyoza disks but I didn’t want to take any risks with my filling coming through! If you are stacking them, like I did…remember to lightly flour each side so that they don’t stick together.
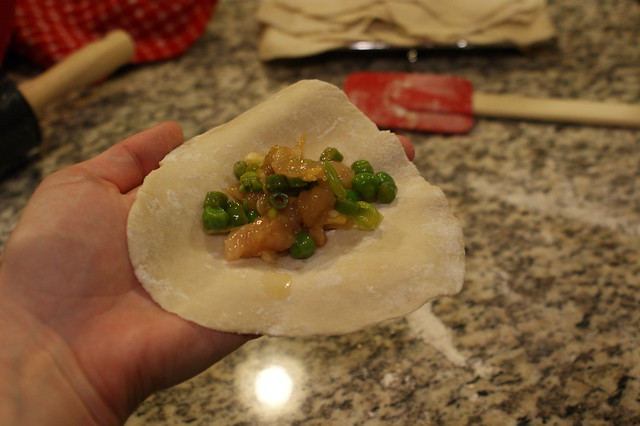
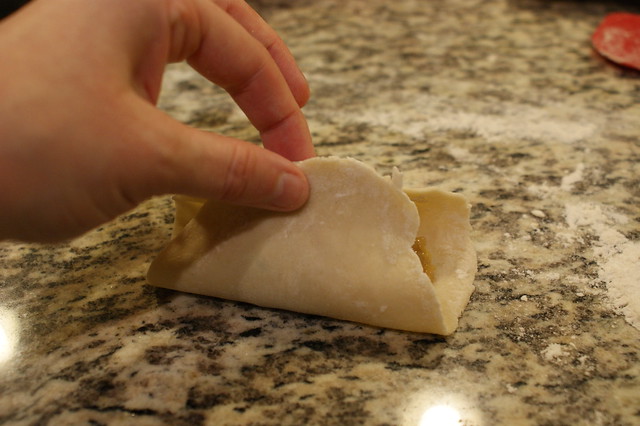
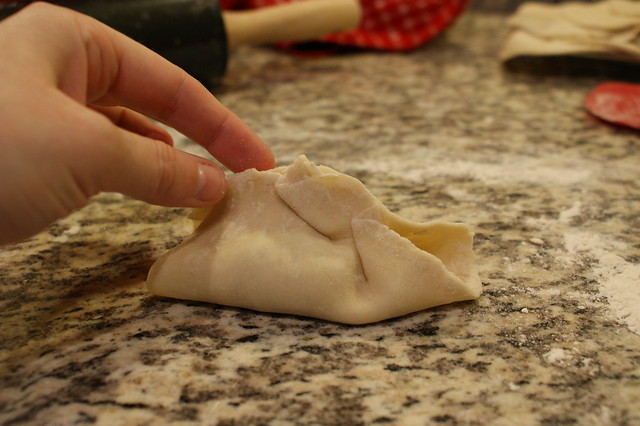
Add a dollop of filling to your dough disk,bring each side of the disk above the dough and pinch together. Working towards the edges, begin to fold and pinch. This creates the rippled look for your gyoza shape!
This is the part where I share my cooking mishaps! I followed the instructions for cooking my gyoza in the pan, followed by adding water to steam. I didn’t like adding water to the pan as it just spat everywhere and scared me to death! The apartment was very smoky and I needed to open all windows and doors! The following night, I cooked the gyoza differently and this is the method that I will share with you!
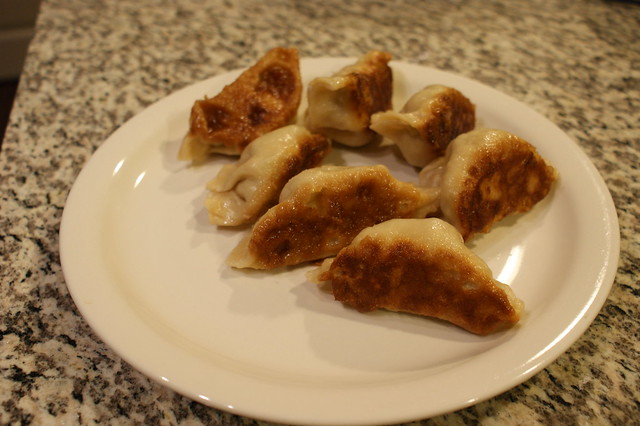
- Add a portion of gyoza to a pan of boiling water. Let the gyoza rise to the top and leave them simmering away for 3 minutes.
- Take the gyoza out of the pan and dab with kitchen paper to remove any excess water.
- Fry the gyoza in a small amount of oil until the bottoms are brown and crispy.
Second time round, I didn’t have to deal with any smoky disasters!


Wow they look delicious!
They tasted soooo nice too 🙂
These look so yummy I can not wait to give them a try!
I’m very impressed! When I first started reading I thought you would have at least bought the readymade gyoza skins! They look very professional 🙂 I bet a prawn filling would also work well :-))