My Vintage UFO from 2015

Back at the start of November 2015 I started this dress.  It was supposed to be my final make for the 2015 vintage pledge but I couldn’t quite get it finished in time!

Untitled

It took me a while to get everything done with it.  It was one of those projects where I would make a small amount of progress and then set it to one side.   In December I made a good amount of progress but then it got put to one side again. So finally, at the very start of January 2016 I actually managed to get the dress finished!

Untitled

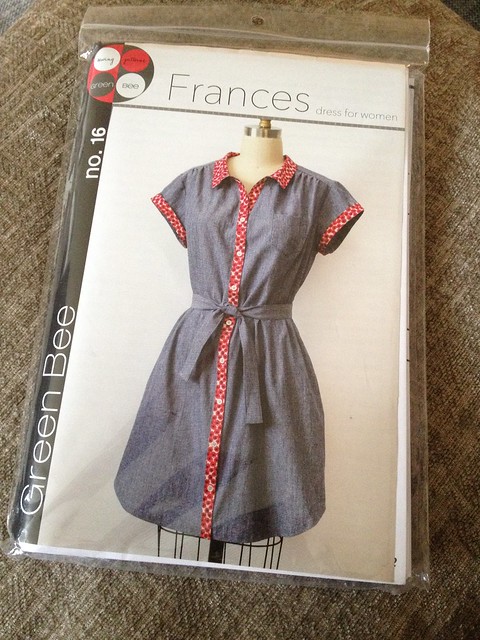
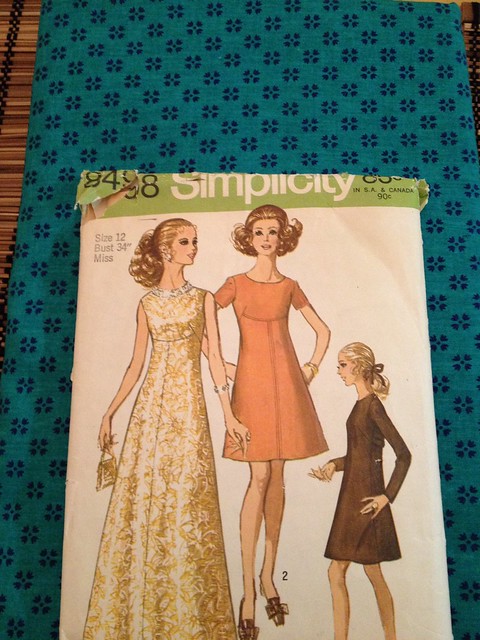
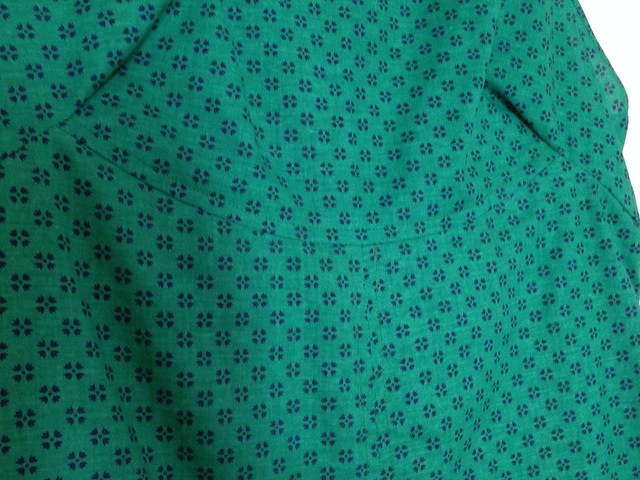
The dress I decided to make was a combination of view 2 and 3; a sleeveless above the knee dress. The front had a curved seam beneath the bust, which had a bust dart at either end. The large front panel was made up from 2 separate panels joined in the centre.  All front seams were topstitched.

Untitled

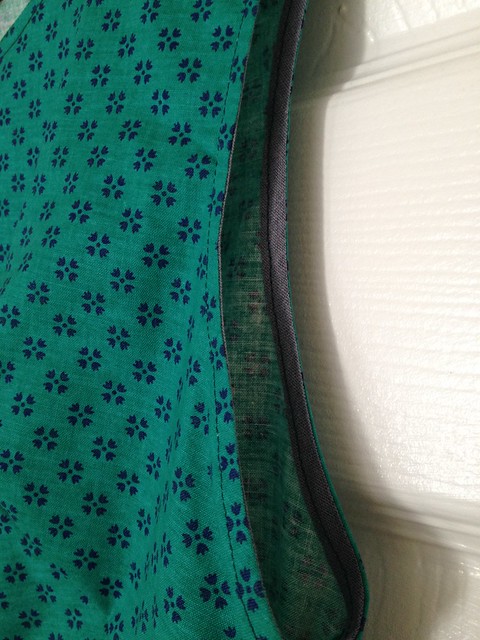
The pattern pieces included in this envelope were not matching and they had been not cut very well at all.  So when I came to attach the shoulder seams together, one was considerably larger than the other so I did need to trim the larger one to match the smaller.  I then found that the facing pieces included in the envelope belonged to a different dress completely!  Facings were abandoned and I chose a grey binding from my stash to finish the edges of the neck and arms. I think I just need to add a hook & eye closure to ensure the top of the zip is a little closer together.

Untitled

Untitled

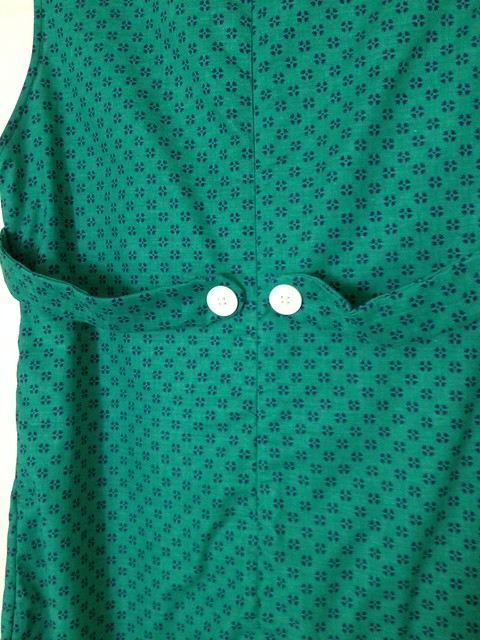
My favourite part of this dress is the belt which adds detail to the back.  I love how the white buttons really make the belt stand out. 🙂

Untitled

Would I make it again?  Probably not.  I don’t really think that this is a flattering style on me, especially as it’s a tad too tight around the tummy area!  I may change my mind when I lose a little weight, otherwise this will be an ‘around the house’ dress. 🙂


First Make Of 2016 – Frances Dress

Back in December, Camilla sent me a lovely little parcel for my birthday.  It contained the Green Bee Frances dress pattern and some gorgeous Denyse Schmidt fabric.  Due to having visitors over Christmas, I hardly got any sewing done at all so once my parents had gone home, I was itching to get something made up – I knew this would be the pattern to make up first!

Untitled

Thank You Stitching Santa!

The office for our apartments closed for Christmas.  Of course, my #stitchingsanta present was delivered on the final day they were open…when I was out and I didn’t get back in time to pick it up before they closed! 😦  I was sad because I knew we were going away the morning after Christmas so I wouldn’t be able to open it until we got back on the 29th!!! Can you guess what I did first when we got back from Vegas??  I OPENED IT OF COURSE!!

Now my stitching santa was lovely Abi over at The Freckled Fashionista!  Abi did sooooo well putting the gifts together and I absolutely LOVE everything! Thank you so much Abi!

I did have a sneaky suspicion that Abi was my santa.  She posted a blog post with some presents wrapped with doggy paper and some English themed fabric.  Well, I have a dog, I lived in England and I now live in the US so I thought that it may be for me and it was!  I was so pleased when I opened the parcel because everything was wrapped up brilliantly – the wrapping paper was gorgeous!

Untitled

#stitchingsanta What I Think I sent?!

Merry Christmas everyone!! I hope you have all had a lovely day – I know we have!

Back at the start of December, I feeling quite pleased with myself due to the fact that my #stitchingsanta parcel was all ready to be sent. In the midst of wrapping, I thought S**T oh dear! I had forgotten to take photographs of what I had bought and I had already wrapped the majority of everything up. 😦 AND now I’m sat here writing this blog post, I keep forgetting what I had actually bought and don’t have many photos to help me remember, so this blog post is a little bit thrown together!  I also decided to schedule this for Christmas Day evening as I didn’t want to spoil any of the surprises!

Untitled

#stitchingsanta update

It’s gone! Sent! Complete!  I really love putting parcels like these together as I find it a good challenge to make the most of the budget and to make some stash busting gifts.

The week before last, I set about with the handmade extras to my gifts.  I didn’t choose anything too big or fancy as I wanted my gifts to be useful to the recipient.

I’m actually thinking of doing more detailed posts about these gifts at the beginning of next year.  Even though I already used tutorials that were available online, I changed things slightly to suit my sewing style and patience!

First up, I’ve made a set of 4 quilted mug rugs/ coasters.  I’ve included a couple of tea bags with this gift as a little extra too.  I don’t know about anyone else, but I seem to use & have coasters all around the apartment so I think that these are quite a useful gift.

Untitled