
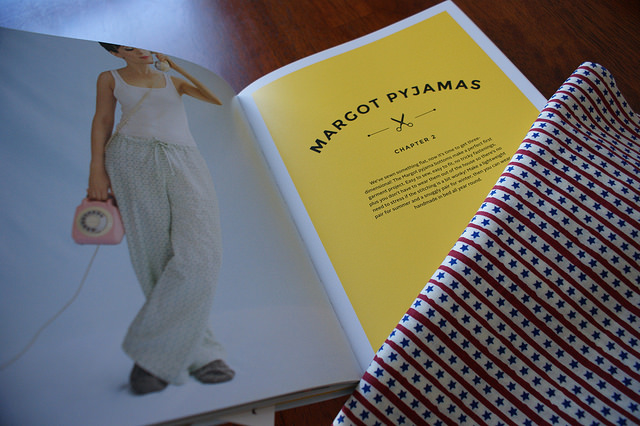
The next project in the Love At First Stitch book was the Margot Pyjamas. Every time I see these being blogged about, I can’t help but think of the Margo character from The Good Life. I’m sure that they are not linked in any way but she was in my mind EVERY time I worked on this project! Crazy.
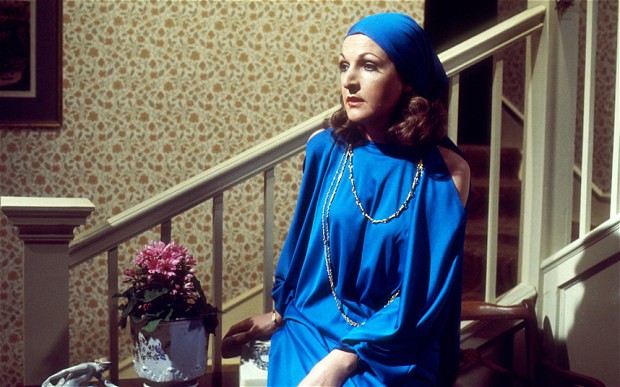 Photo source: http://telegraph.co.uk
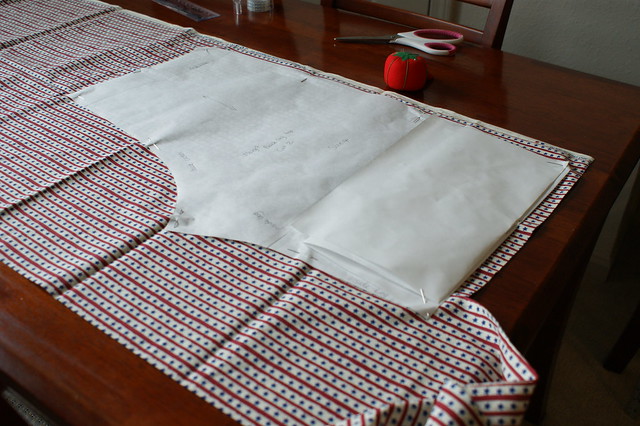
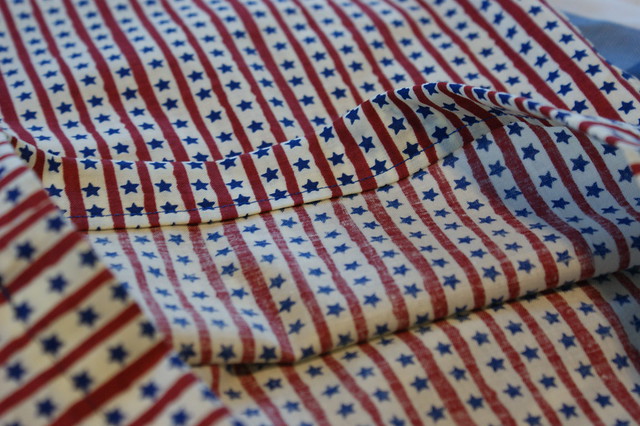
I am trying really hard not to buy any more fabric so I had a good rummage in my stash. I didn’t have quite enough of anything to make the long version of these so I went for a knee length short. I traced the pattern onto freezer paper and used the guidance to lay out the pattern pieces on the fabric. I cut the size 4 pattern.
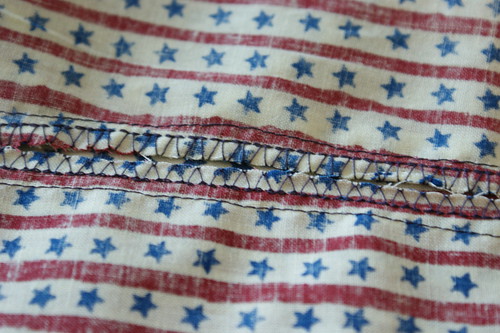
The overlock stitch was used again on all exposed seam edges on the inside. I think this stitch does the job but I do prefer how pinking looks, you know, those cute little zigzags!
The instructions were very clear and so easy to follow; much better than the last pyjama bottom pattern I used. The pictures in the Love At First Stitch book made things a lot clearer. I quite often find myself googling terms and phrases when following the instructions off an enveloped pattern. I didn’t need to turn to Google at all for these!
Rather than making a drawstring out of the same fabric, I ended up using some pink ribbon that I had left over from a previous project. Using ribbon is much easier than making your own drawstring!
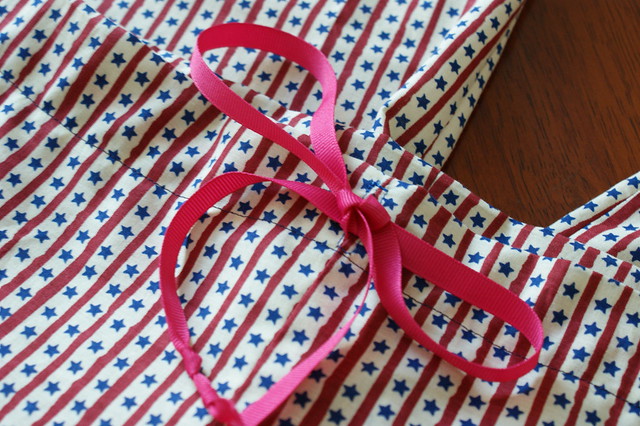
From cutting to being complete, they took me around half a day to make, which isn’t bad at all for a new pair of pyjamas. I haven’t supplied you with any ‘modelled’ photographs as I don’t find slouchy pj bottoms flattering at all! These are comfortable but they do feel quite tight across the crotch despite them being a little too big on the waist. I think that tells me that I have a bigger bum/hips so I will need to remember that for next time.

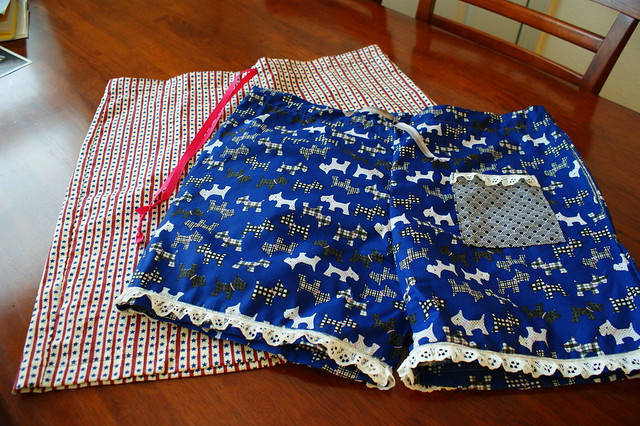
These were also a little long on me and did look like basketball shorts! At the end of each project, Tilly suggests how you could vary the design for future pairs. With this in mind, I combined a few of her suggestions to make a shorter pair, with extra width for my bum, side seam pockets, a patch pocket and a lace trim.

I made the patch pocket with the same fabric that I used for the pockets. The westie fabric is from my stash of fabric in the UK. My Mum brought a good chunk of my stash across with her when they visited over Christmas. I love the lace trim too, it was a bargain in Joann’s for $1 for about 5 yards!
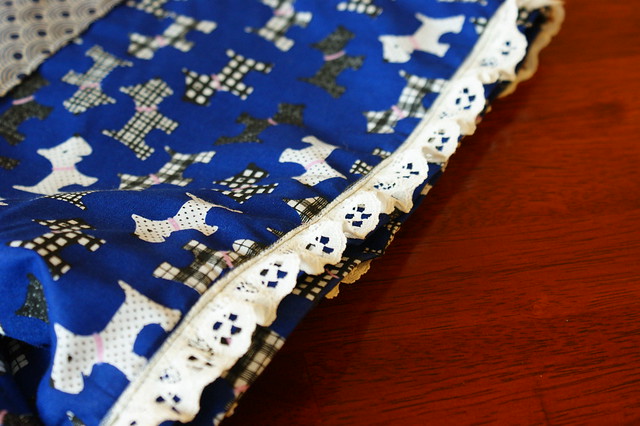
I placed the lace a little higher than where I would have normally put it. The trim wasn’t as soft as I imagined so I didn’t want it to irritate me in the night. Again, I used a piece of grey ribbon for the tie. These are a much better fit and have a little more room around the hips. I will definitely be making more of these in the future…just not yet though as I currently own around 10 pairs of pj bottoms which is slightly excessive!


Cute dog print! I really must try this pattern 🙂
i love the dog print! 🙂
I have the opposite problem. No bum or hip but plenty going spare (tyre) in the mid section! Like the look of the Margot 🙂
This made me laugh! To be honest… I’ve got some tyre too! haha!
the westie pair is so cute!
Both pairs look cute! I like to use ribbon instead of drawstrings in my lounge pants too.
They both turned out beautifully! I’m looking forward to giving these a try. Maybe you could make more to give as gifts!