

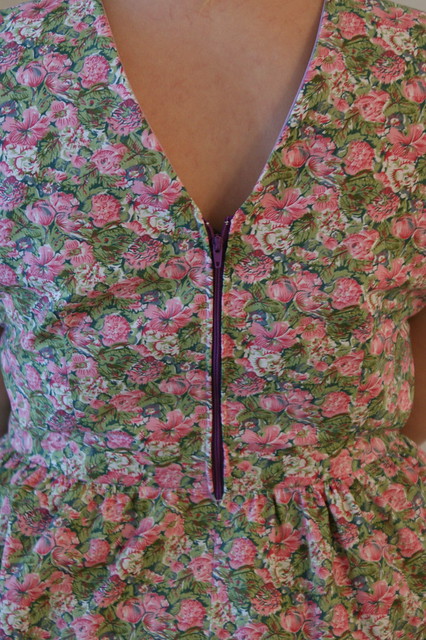
Just over a month ago, I made my first Bonnell dress from Dixie DIY. I knew that this was the dress I was going to make for my Art Gallery Fabric project so I really wanted to make the fit of the dress perfect. For the very first dress, I used a pink & green floral cotton with a plain purple cotton lining. I shortened the bodice pattern by 1 inch as I’ve now gathered that I need to do this for most dress bodices. The rest of the pattern was cut out in a size 10.
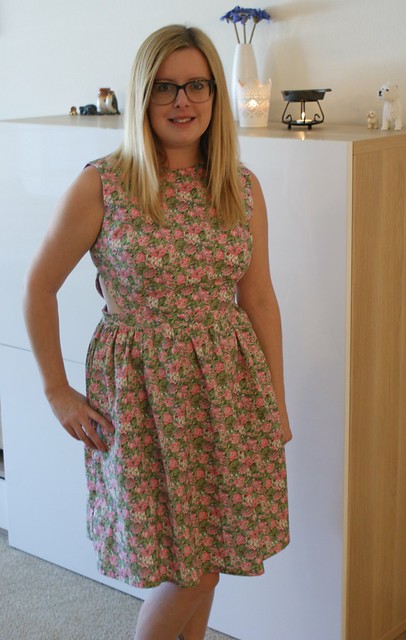
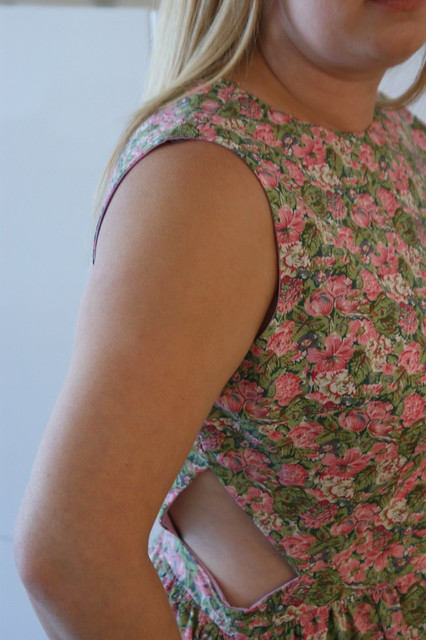
When I had completed this dress, the bodice seemed to be ok but the shoulders were far too big. To try and get a feeling for how much I needed to shorten them by, I simply folded the required amount under and stitched in place. Doing this made the bodice fit better but I then realised how high the neckline was. The neckline is that high on this one that it wasn’t even comfortable enough to wear around the house as it just kept cutting into my neck. I also felt that the cut-outs on this were quite large; probably ok if you have a flat tummy but this revealed too many rolls and folds for my liking. I plan on stitching a piece of lace to the lining so it’s not too revealing. This ‘wearable’ muslin that is now not-so-wearable, has gone back into the wardrobe to be adapted at a later date.
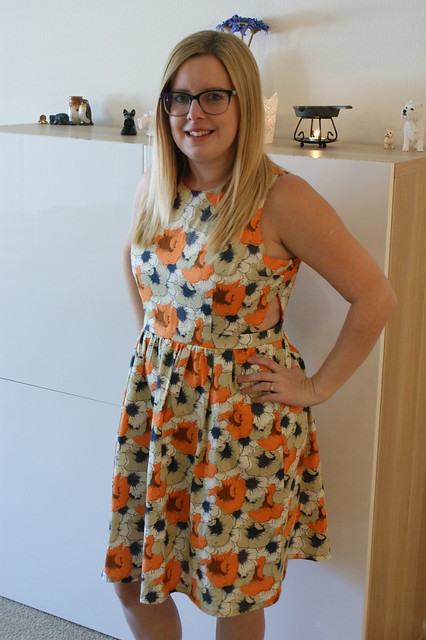
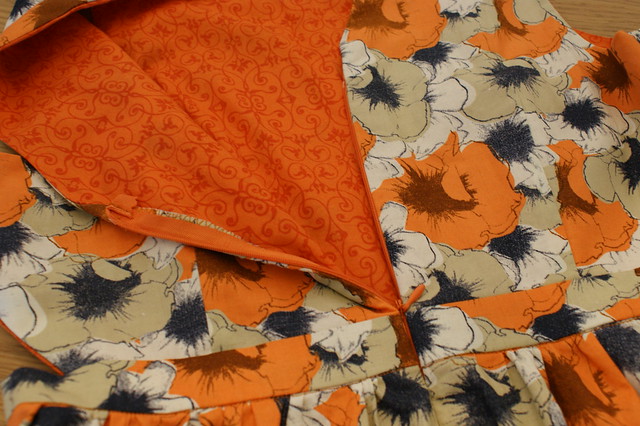
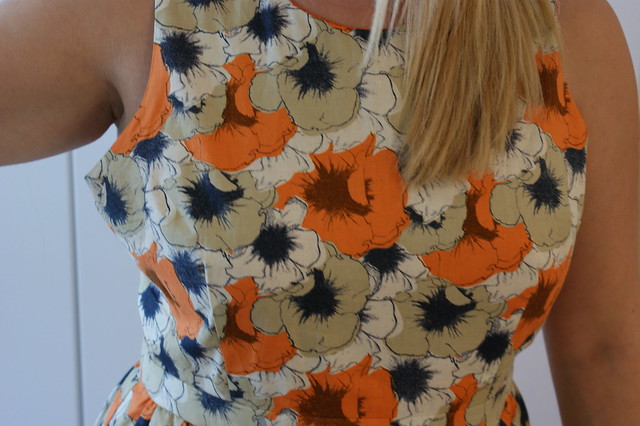
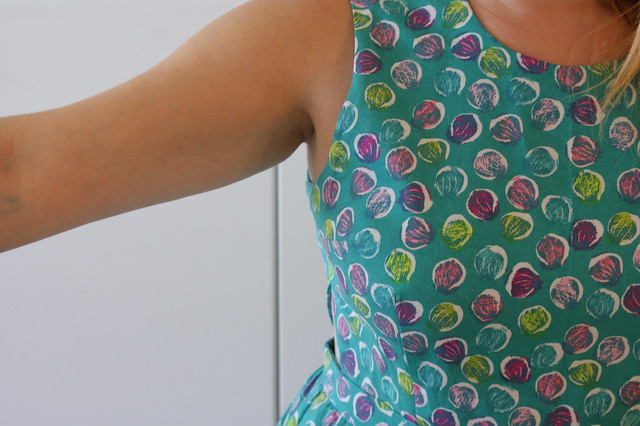
For the next muslin, I changed the pattern so that the shoulders were cut much shorter at a size 2 and then graded out to the size 10 under the arms. I also lowered the neckline so it would be comfortable. The cut-outs were also made smaller. For this muslin, I used some orange floral cotton for the main fabric and some soft detailed cotton of the lining. The cut-outs were much better on this dress and the neckline wasn’t cutting my circulation off. However, the bodice was quite baggy under the arms.
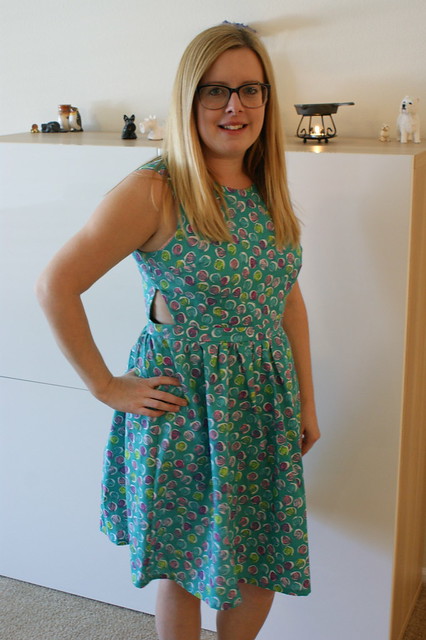
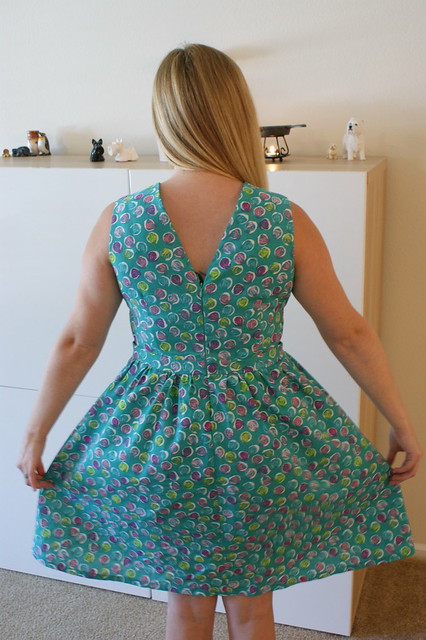
I didn’t really want to start adjusting or adding darts so I decided to simply take the pattern down to the size 8 on the side seams for the next dress. This didn’t change any other of the measurements as the sides of the bodice end at the top of the cut out, not where the bodice meets the skirt. Taking it down just one size made such a difference to the fit. So this blue spotty cotton with the arrows as lining was the final muslin; I was now ready to cut into the Art Gallery stuff and I had 3 new dresses! 🙂
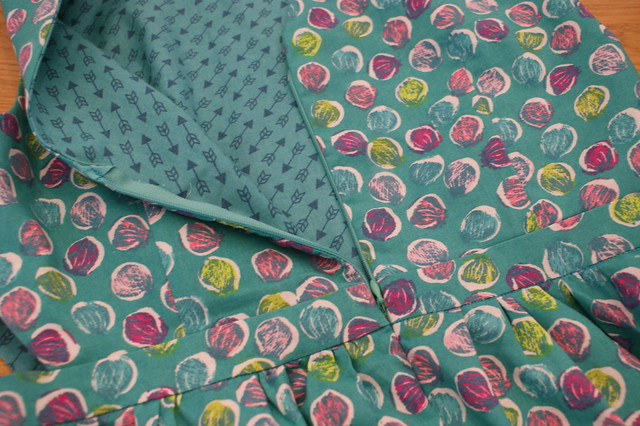
The invisible zips on the orange & blue dresses challenged me a little as I hadn’t done one for a while: I ended up attempting one of them 5 TIMES!! Hopefully, I will remember for next time now though. 🙂 I also don’t recommend buying one of those universal invisible zipper foot kits – I put the needle straight through mine after 5 minutes of using it. :-0


They’re all beautiful. Wonderful fabric choices!
Really lovely!!! I enjoyed reading about your process and just love the satisfaction of completing a pattern that many times that you know you’re finally ready to cut into the good stuff! Good luck with it, I think you nailed it in the end! Also, just wondering if you’d considered putting the zip between the lining and main fabric so it doesn’t show on the inside? Or why you prefer to do it this way?
Fab! I love all of these. You picked really pretty prints. Well done on persevering with all those small tweaks, it’s satisfying when you finally get there 🙂
Nice to see the fitting process, how you dealt with each little issue. And now, ready for the Big Dress! I really love that blue/orange version.
Very nice – and I love the fact that you’ve used equally pretty lining for each dress.
Sewing is a step by step process and you made some pretty dresses at each of the steps!
Those dresses look so lovely! Well done for perseverance – I find all the pattern adaptation so fiddly. I love the fabrics the colours really suit you.
I love this pattern on you. Very cute! I am so glad you figured out the fit. Your blue dress is darling. Can’t wait to see the art gallery finish.